
Bathroom Renovation Plumbing Checklist: Plan Before You Tile
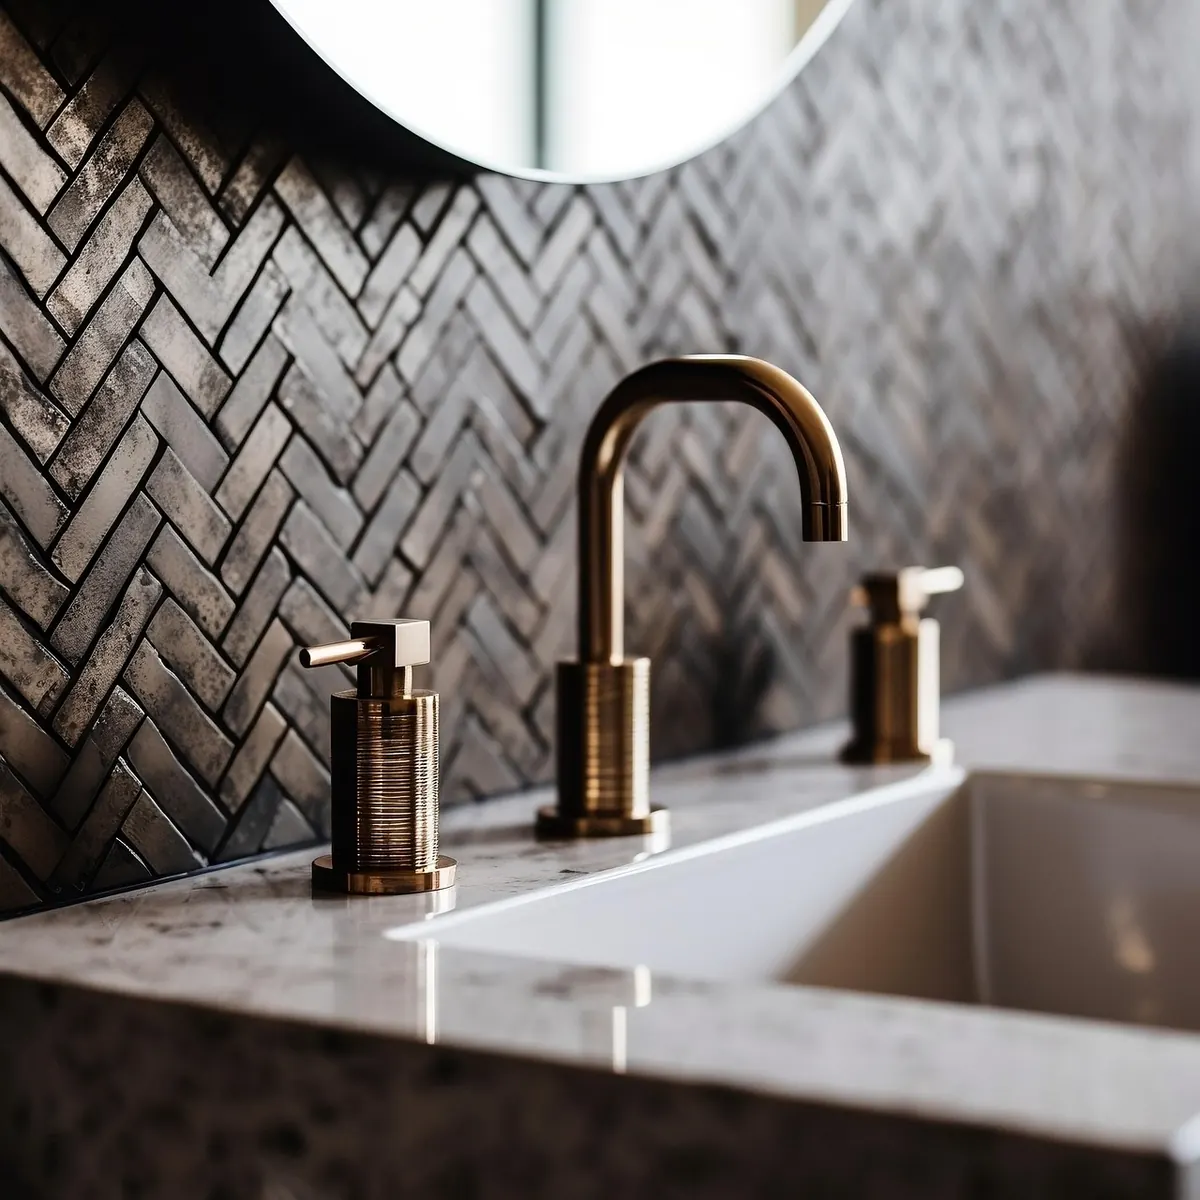
A bathroom that leaks is rarely a tiling problem. It is a planning problem that has taken a few months to show itself. Water finds the one pipe joint nobody pressure-tested, the shallow trap that was never going to drain properly, or the extractor duct that stops in the loft. By the time the grout darkens, the tiles are the only thing standing between you and a much bigger bill.
So before anyone mixes adhesive, work through the plumbing and ventilation decisions. Most of them are cheap now and expensive later.
Supply pipework, pressure and isolation
Start with what comes in. Check the incoming flow rate and pressure before you choose fittings, not after. A combination boiler feeding a large rain shower and a basin tap at the same time will drop in performance, and no amount of rainfall head will fix that. If the property has a gravity system with a tank in the loft, the height of that tank above the shower head sets your limit.
Pipe sizing matters more than people expect. Running a bath on 15mm pipe over a long distance is slow and noisy; 22mm for the bath feed, reduced to 15mm near the outlet, is usually the better arrangement. Keep hot runs as short as you reasonably can, and insulate anything in a cold loft or against an external wall.
- Fit isolation valves on every branch so a future repair does not mean draining the house.
- Use pipe protection plates where pipes sit less than about 50mm below a wall surface, so nobody drills through them later.
- Clip pipework properly and allow for expansion — creaking pipes behind tiles are a nuisance to trace.
- Decide now whether you want a thermostatic shower, a pumped supply, or a hot water cylinder upgrade. Retrofitting these means opening walls.
Waste and drainage: falls, traps and access
Waste is where bathrooms fail quietly. Every appliance needs the right diameter, the right fall and a trap that will not be sucked dry when another outlet empties. Basin, bath and shower wastes are typically 40mm; a toilet connection is 110mm and much less forgiving of mistakes.
Falls need to be consistent rather than dramatic. As a rule of thumb, a 40mm waste pipe wants a gradient of roughly 18 to 22mm per metre — too flat and solids settle, too steep and the water runs away leaving debris behind. Long waste runs should be avoided altogether if you can, and flexible concertina waste kits should be a last resort rather than a default.
Think about access before you box anything in. Every trap, waste fitting and isolating valve should be reachable through a panel, a removable bath side or a service hatch. If the toilet is moving, treat that as the single biggest job in the room: it affects the soil pipe route, the floor structure and often the ceiling below.
A short drainage checklist
- Confirm the route to the soil stack or existing drain before stripping anything out.
- Choose shallow traps for showers and low-profile wastes where floor depth is tight.
- Vent the system correctly — an air admittance valve may be acceptable, but check the layout first.
- Allow for rodding access at any bend you cannot reach later.
- Be cautious with macerators: they suit some situations, but they limit what can be flushed and need a power supply.
Ventilation: cheaper now than mould later
Steam has to go somewhere, and a window that is opened occasionally does not count. Size the extract fan to the room, fit it with a humidistat or overrun timer, and duct it to outside through the shortest, straightest route you can manage. Duct that runs into a loft and stops is worse than useless — it dumps warm moist air into the roof space.
Insulate ducting that passes through cold areas to reduce condensation inside the pipe, and use rigid duct rather than long lengths of flexible hose where possible. Building regulations set out ventilation requirements for bathrooms, and a heat recovery fan can be a sensible choice in a well-sealed home. If you are unsure what applies to your property, take advice from a qualified installer or your local building control team before first fix.
Waterproofing: tank first, tile second
Waterproofing is not the same as water resistance. Moisture-resistant plasterboard and tile backer boards help, but in a shower enclosure or wet room you want a proper tanking system: a liquid membrane or matting applied over the substrate, with reinforcing tape at corners, junctions and pipe penetrations.
Get the substrate right before that. Boards should be rigid, screw-fixed at sensible centres, and flat. If you are tiling onto a timber floor, check for movement and deal with it — deflection cracks grout and opens joints. Seal internal corners and the joint between tray and wall with a flexible sealant, not grout, and use silicone at movement joints.
While the floor is open, note where the shower waste and trap sit. A waste you can only reach by lifting tiles is a design fault, not bad luck.
The sequence that keeps you out of trouble
Order of work matters because most mistakes happen when a trade is working around another one. A sensible sequence for a typical renovation:
- Plan and measure, including fixture positions, pipe routes and finished floor levels.
- Strip out and protect what is staying.
- First fix: supply pipework, waste runs, and any electrical cabling by a competent electrician.
- Pressure-test the water pipework and check waste falls before anything is covered.
- Tanking and waterproofing to wet areas.
- Boarding, skimming and making good.
- Tiling, grouting and sealing.
- Second fix: sanitaryware, shower, radiator or towel rail, and the extract fan.
- Commission, test and run everything — hot, cold, drainage and ventilation.
Before the walls close up, take photographs of every pipe and cable run, with a tape measure in shot. It takes five minutes and saves hours when someone later asks where the joists are.
Before the first tile goes down
Run through this once, slowly, and you will avoid most of the problems that turn a straightforward refurbishment into a running repair.
- Every supply pipe pressure-tested and holding.
- Every waste run checked for fall, with traps filled and tested.
- Isolation valves fitted and reachable.
- Tanking complete, including corners and pipe entries.
- Extract fan ducted outdoors, with the correct overrun.
- Shower tray or wet room former level, bedded and sealed.
- Pipe and cable routes photographed.
Any gas work, and any notifiable electrical work, should be carried out by someone registered to do it — a Gas Safe registered engineer for boilers and gas appliances, and a qualified electrician for circuits in the bathroom. It is not a corner worth cutting. Get those parts signed off, then tile with confidence.
Photo: InteriorLens / Pixabay